
 morningchores.com Here's a step-by-step guide on how to build DIY double doors for a shed:
 Introduction: Double doors on your shed offer a wider opening, making it easier to move larger items in and out. This project outlines the process of building sturdy and functional double doors for your shed, customized to fit your specific opening.
Materials & Tools: Lumber (for door frames, bracing, and trim choose weather-resistant wood like treated pine or cedar) Plywood or exterior-grade sheathing (for door panels) Hinges (sufficiently strong for the door weight) Latch or bolt hardware (for securing the doors) Screws (exterior-grade, various lengths) Wood glue (exterior-grade) Measuring tape Pencil Saw (circular saw or hand saw) Drill/driver Level Clamps Safety glasses Work gloves Optional: Router (for decorative edges) Optional: Paint or stain (for weather protection)
Step 1: Measure the Opening: Carefully measure the width and height of the shed door opening. This is critical for ensuring your doors fit correctly. Subtract approximately 1/4 inch from both the width and height for clearance. Divide the final width measurement in half to determine the width of each individual door.
Step 2: Build the Door Frames: Cut the lumber for the door frames according to your measurements. You'll need two vertical pieces (stiles) and two horizontal pieces (rails) for each door. Assemble the frames using wood glue and screws. Ensure the frames are square by using a speed square or framing square during assembly. Clamp the corners while the glue dries.
Step 3: Add Bracing: Cut and install diagonal bracing inside each door frame. Bracing adds strength and prevents the doors from sagging over time. Attach the bracing using wood glue and screws, ensuring it fits snugly within the frame. A single diagonal brace from the bottom hinge corner to the upper opposite corner is usually sufficient.
Step 4: Attach the Sheathing: Cut the plywood or sheathing to fit the door frames. Apply wood glue to the frames and then attach the sheathing using screws. Make sure the sheathing is flush with the edges of the frames. This creates the door panel itself.
Step 5: Trim the Doors (Optional): If desired, add trim around the edges of the doors for a more finished look. Cut the trim pieces to size and attach them with wood glue and finishing nails or screws. A router can be used to create decorative edges on the trim before installation.
Step 6: Install the Hinges: Position the hinges on the doors and the shed frame. Mark the screw holes and pre-drill pilot holes to prevent the wood from splitting. Attach the hinges using screws. Ensure the doors swing freely and are properly aligned. Consider using three hinges per door for added support, especially for heavier doors.
Step 7: Install the Latch or Bolt: Install the latch or bolt hardware according to the manufacturer's instructions. This will secure the doors when they are closed. Make sure the latch aligns properly with the strike plate on the opposite door or the shed frame.
Step 8: Finishing Touches: Sand any rough edges or surfaces. Apply paint or stain to the doors to protect them from the elements and enhance their appearance. Allow the paint or stain to dry completely before using the doors.
Conclusion: By following these steps, you can build durable and functional double doors for your shed. Remember to take your time, measure carefully, and use quality materials for the best results. Enjoy the increased accessibility and functionality of your shed with its new double doors!
Triks And Tips For Anything: Small Projects For Woodworking
 treatmanual.blogspot.com
 122 Awesome Diy Pallet Projects And Ideas (furniture And Garden)
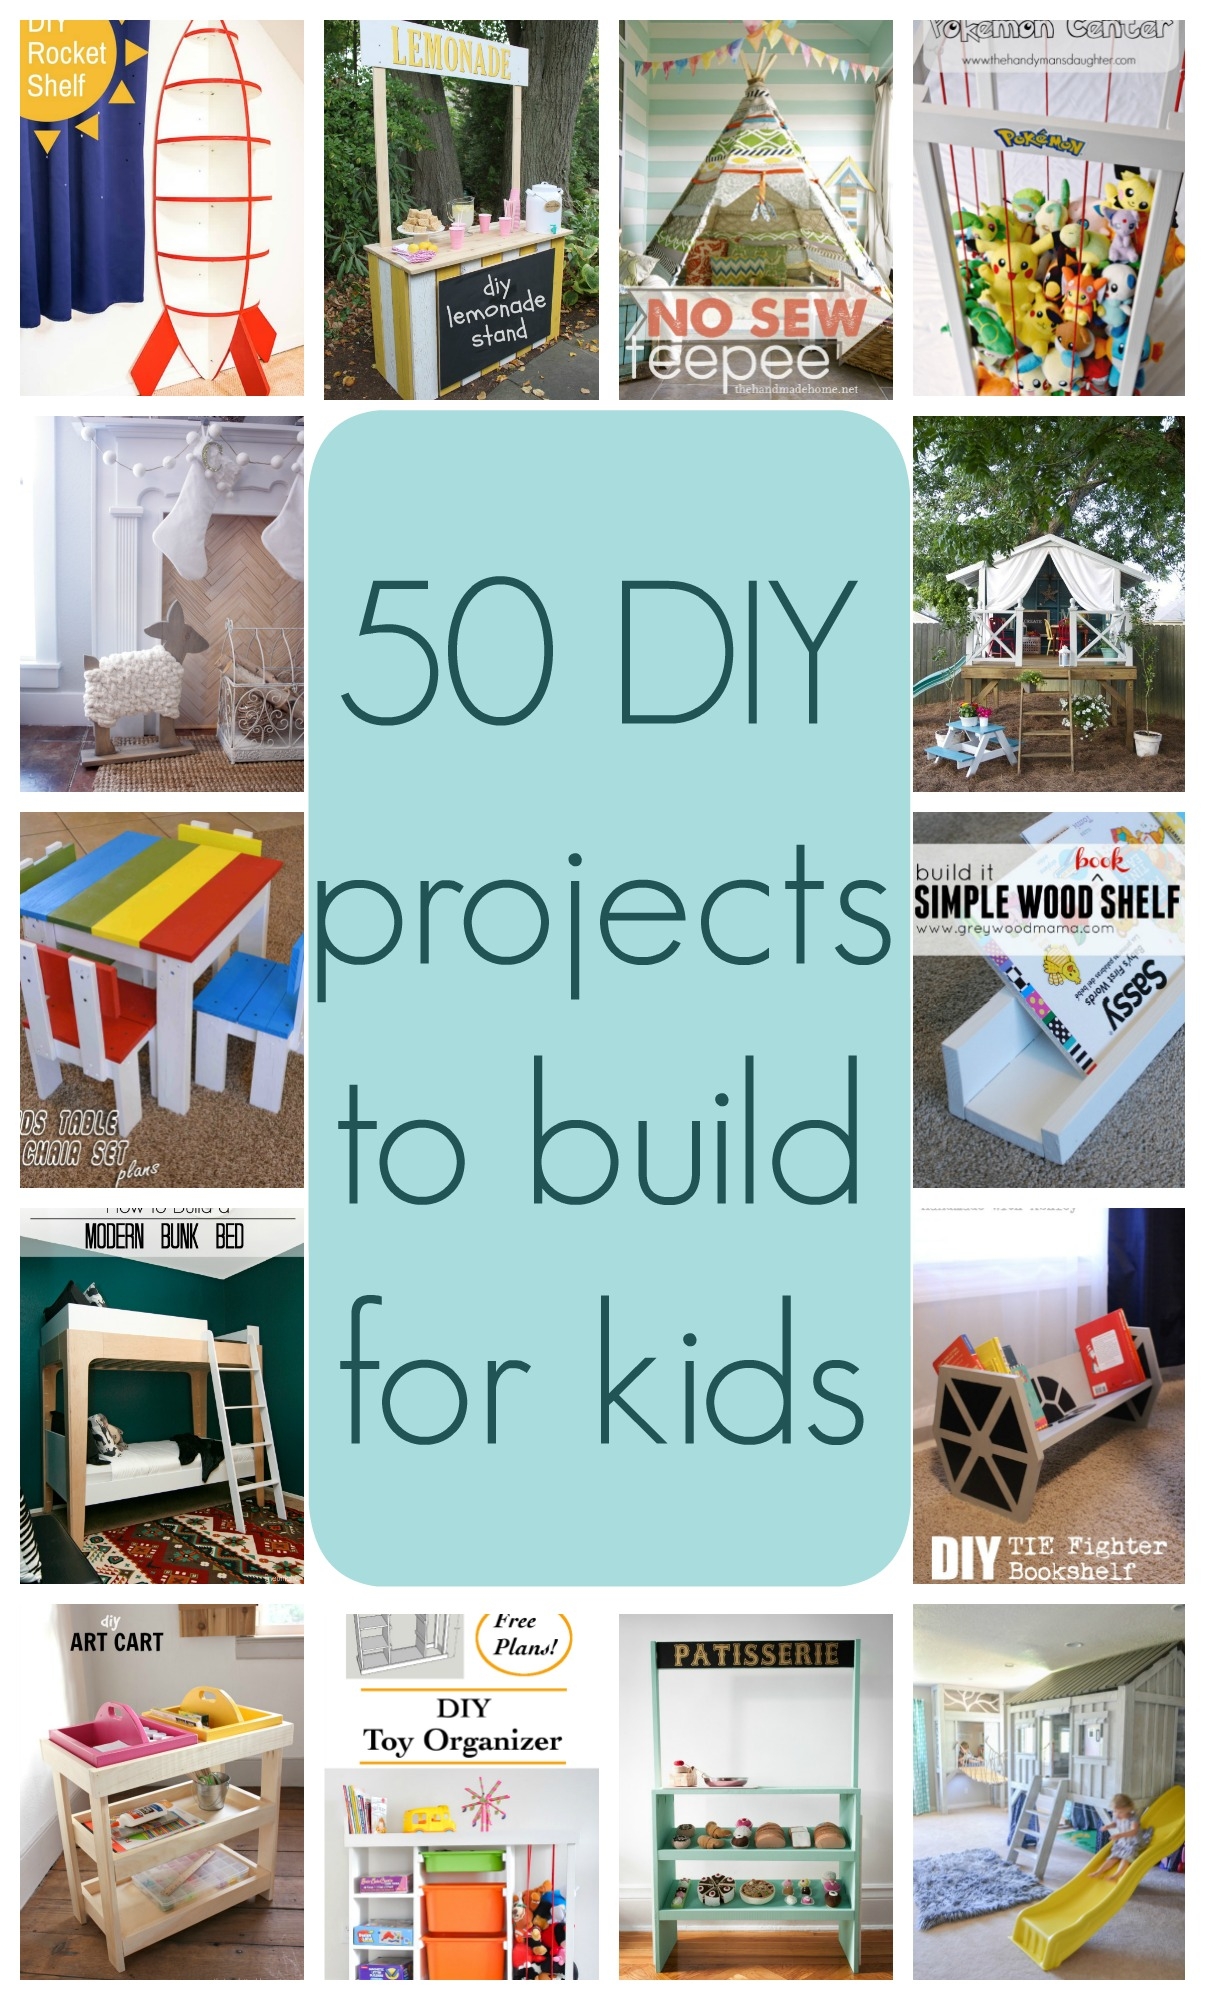
morningchores.com 30 Best Ideas Diy Projects For Toddlers
 therectangular.com


0 komentar:
Posting Komentar